In this tutorial I will describe the steps I made to install RES One Enterprise Workspace (ROW).
RES One Enterprise Workspace transforms normal desktop into a personal desktop. Workspace make your desktop much more secure and manageable.
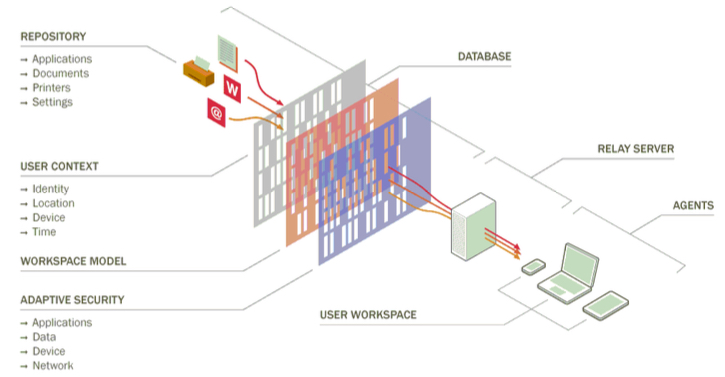
Each time a user logs on to a workspace it will be composed using defined applications, data, printers and personal settings.
These items are set depending on Identity (Who are you), Location (Where are you), Device (kind of device) and Time.
There is of course a lot more info in the Administration Guide (must have account)
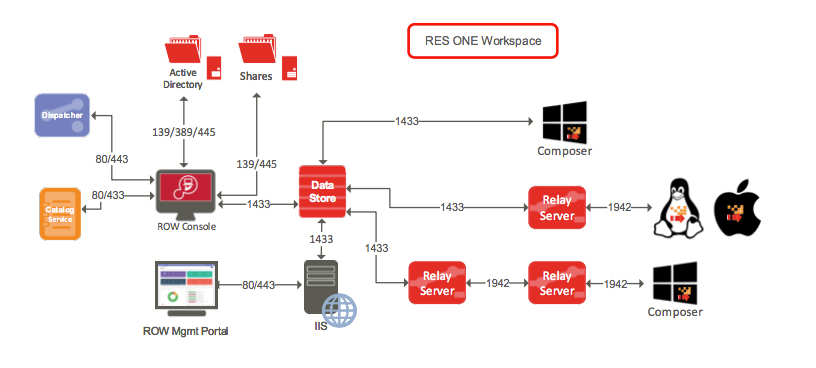
RES One Workspace consists of a central database and multiple components.
ROW Datastore: Is the central database where ROW will store all his information. And where the ROW Relay Servers get their info if installed. Otherwise the ROW Agent will connect directly to the datastore. The last one is not recommended because of the database load.
ROW Console: Here you can manage all the components. All the information you config in the console will be stored in the central database.
ROW Management Portal: This is the showpiece of RES Software. It is still optional so you can run it besides the Console. Not all the features are available right now in the console but they are adding features one by one and will replace the Console in the future.
ROW Agent: This is the most important part of your RES environment. This agent will get the settings for the user workspace directly from the datastore or the relay server and store them in a local cache. But also updates the cache when there are changes made in the workpace.
ROW Relay Server: This is a component that makes your architecture flexible. The Relay Server is optional but I would recommend using them. Because the relay server caches information from the datastore and passes it on to the agents. So not all the clients connect to the datastore at the same time. So you reduce traffic and load to the datastore
ROW Composer: This is the “workspace”. This will present the final workspace. With only the settings an user needs. Like printers, applications, policies, variables. You can choose to present the Windows Shell or the RES Shell. Both the shells are managed by RES. The difference between these two is that the Windows Shell is the shell provided by Microsoft. So the nice and smooth workspace and the RES Shell makes a simple start menu like the windows classic theme. No graphic gadgets.
Before we start the installation we need to make a security group for example DL_sec_RES_admins. This group you will need to config the datastore later on.
Your database server must meet the prerequisites in the Administration guide I mentioned earlier.
NOTE: If using SQL Server you must have Mixed mode enabled.
And for the ROW Management portal you also need an IIS server running. For the prerequisites look at the Administration Guide.
Now let’s start with the installation of RES One Workspace.
We start with extracting all the components from the file you downloaded earlier. Here you will find the download link and command to extract the components.
Now we extracted the components we start the setup by starting the RES One Workspace Installer 10.0.0.0.
Click on Next.
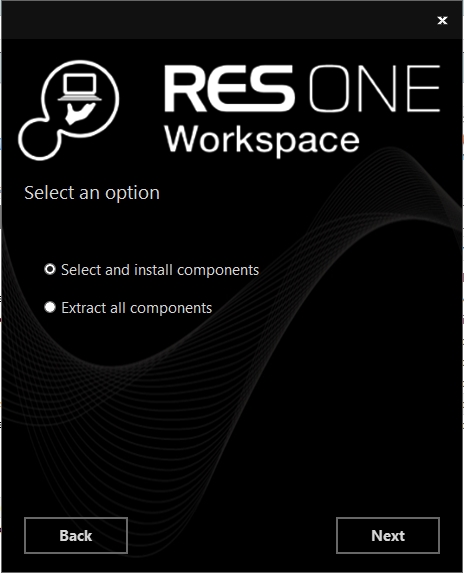
Here we can choose extract all components but in this case I choose Select and install components.
Click Next..
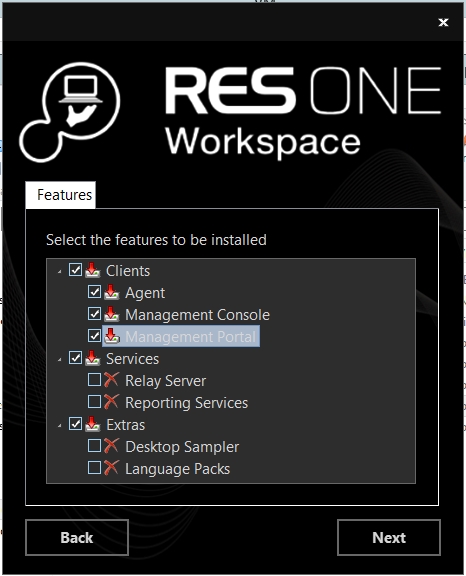
Here you select only the Management Console and the Agent. Optional is Language Packs.
Because the Management Portal will be installed on the IIS server I mentioned earlier.
Click Next…
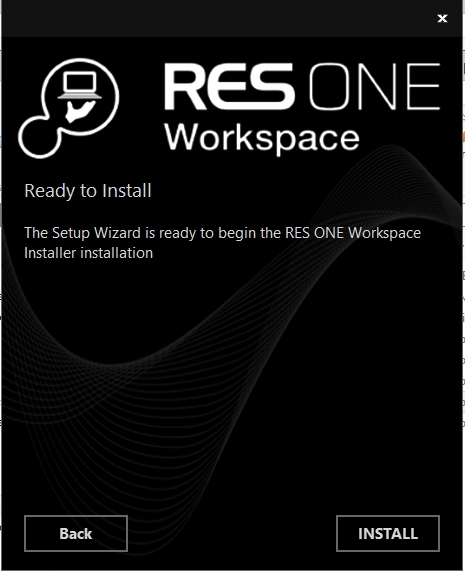
Click Install.
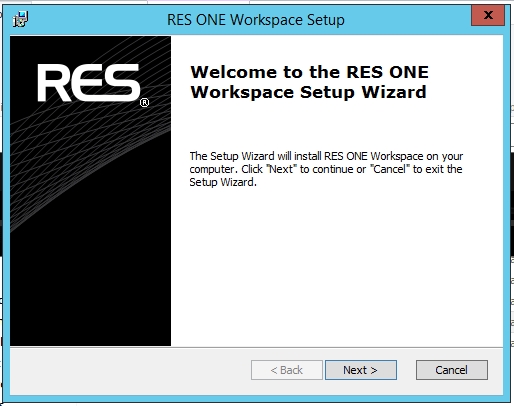
Click Next >
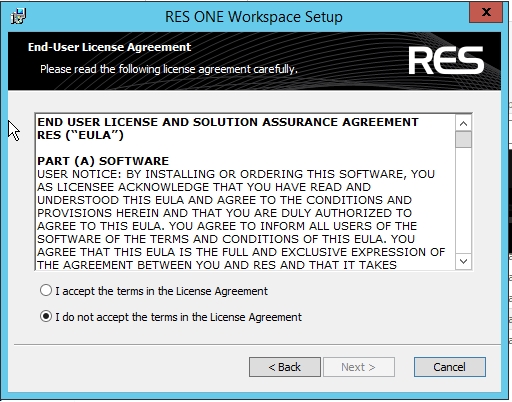
Read the EULA carefully and then select “I accept the terms in the License Agreement” and click Next >
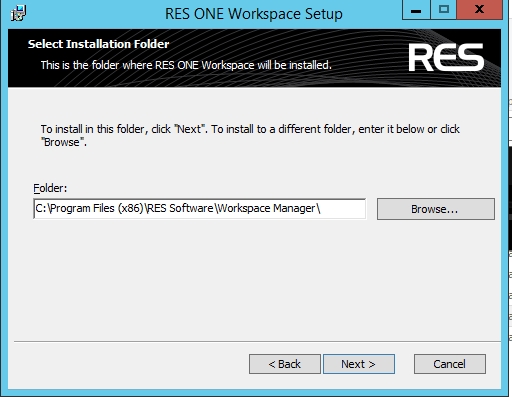
Leave it default and click on Next >
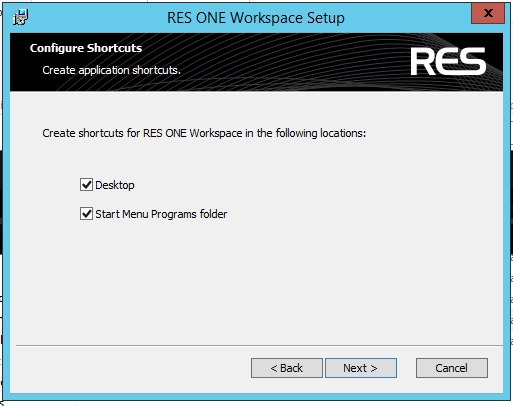
Well this is your choice.. I want them both so I click Next >
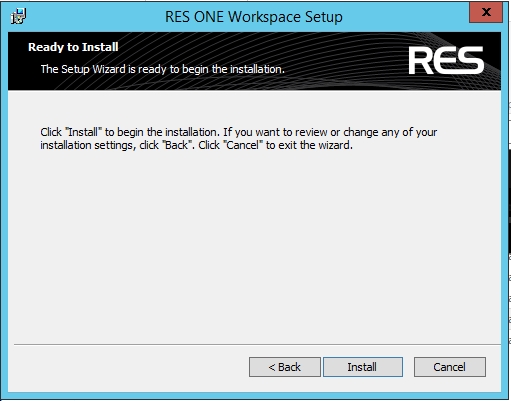
Now the installer has all the information he needs zo click Install
After the installation you will be prompted with a Connection Wizard to setup the environment.
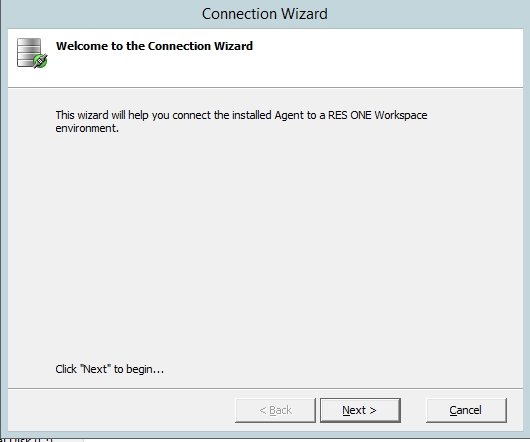
Click Next >
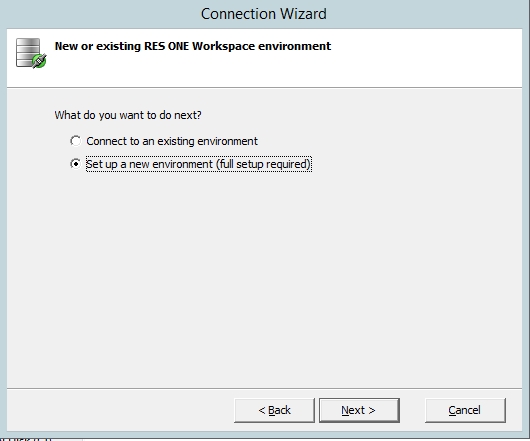
Select “Setup a new environment (Full setup required)” and then Next >
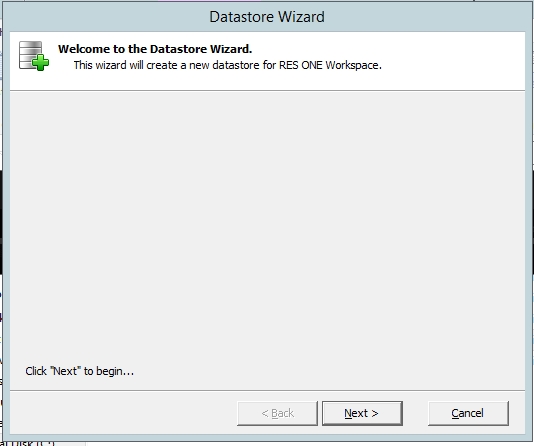
Click Next > to begin the setup of a new environment.
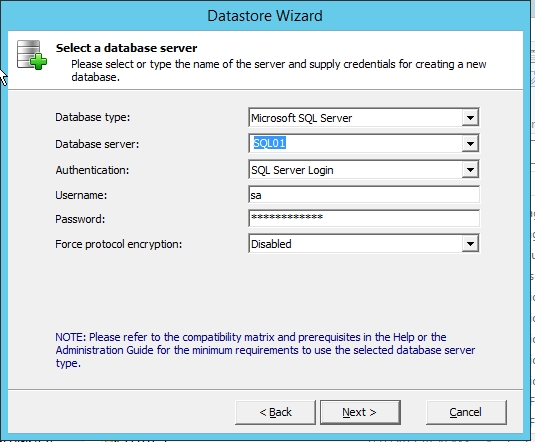
Fill in the information of your Database server.
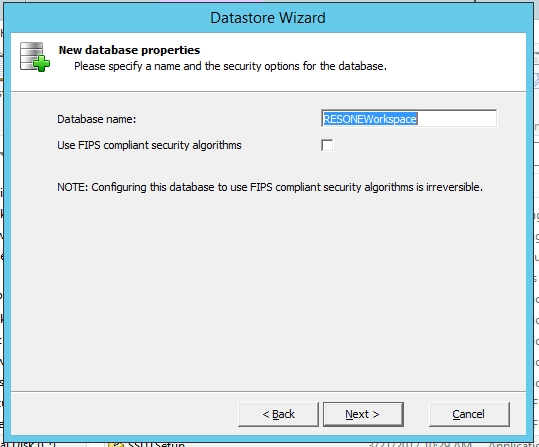
Specify a name for your new database.
Don’t select “Use FIPS compliant security algorithms” unless your sure what your doing.
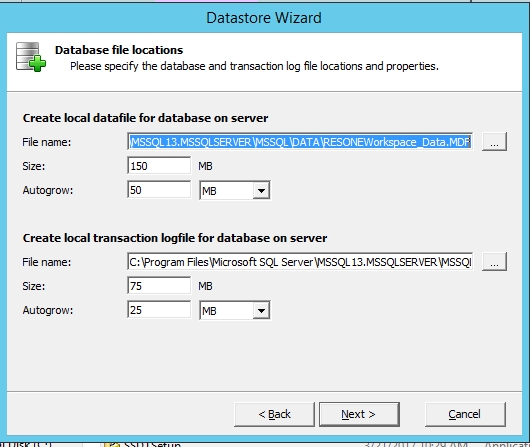
You can modify the settings but I would do this in consultation with your Database Administrator.
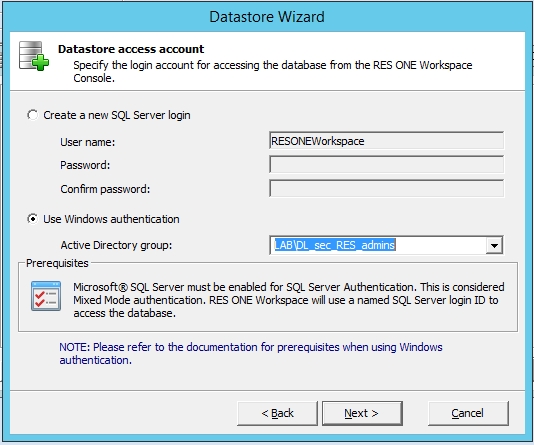
We now have specify a login account that has access to the ROW database.
We can use SQL Server login BUT…..
Best practise is to use Windows authentication by an Active Directory group.
That is why we created a security group in the beginning. So select “Use Windows Autothentication” and then select “DL_sec_RES_Admins” from the pull-down menu.
Click Next >
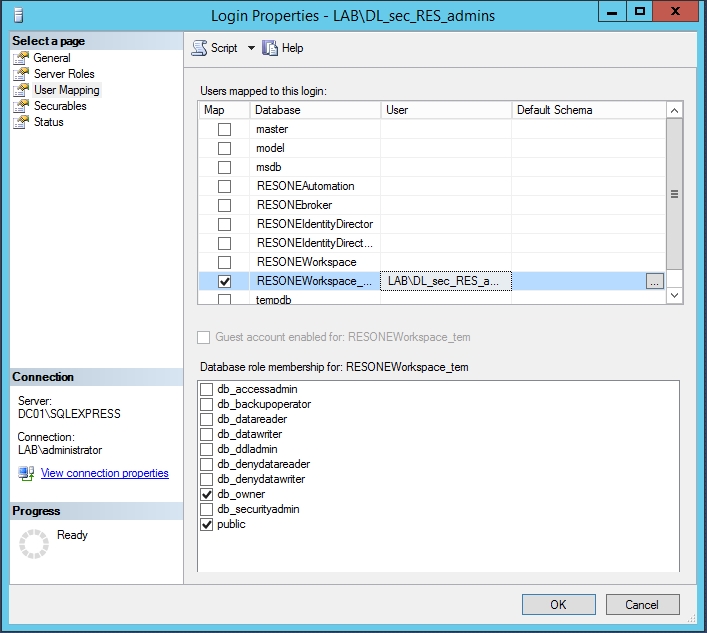
You can check in the SQL Management studio if the group is now DB_Owner..
DL_sec_RES_admins is now DB_Owner of the database RESOneWorkspace
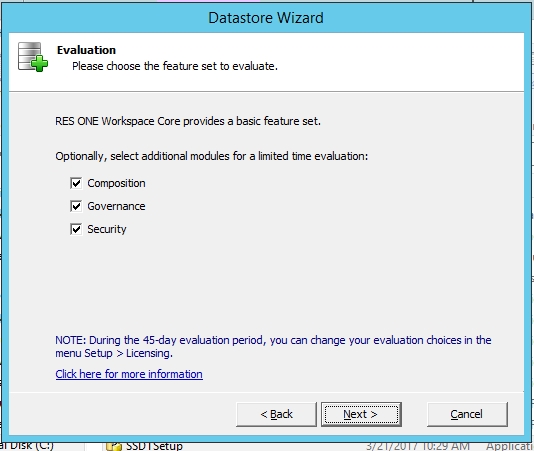
You can select all. You get them for free during 45-day evaluation period. Click Next >
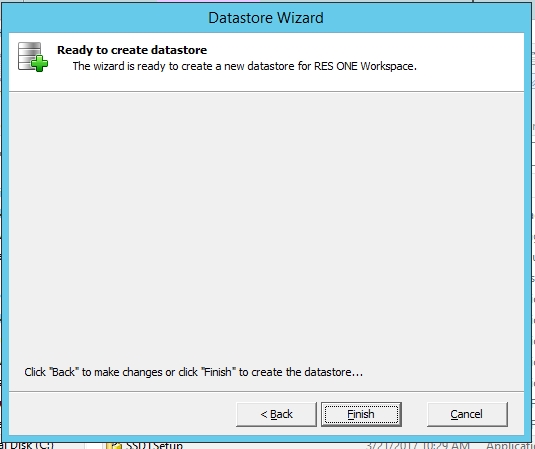
Now the wizard has all the information. Click Finish
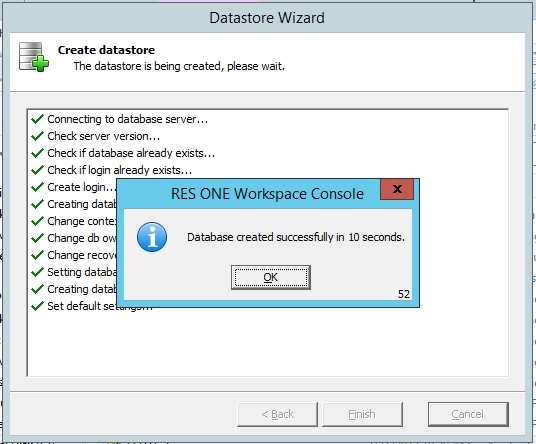
Now your finished. Click OK or wait one minute.
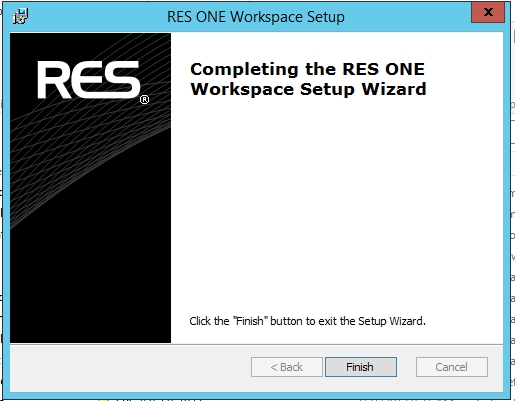
Now the setup is complete. Click Finish.
Click Close
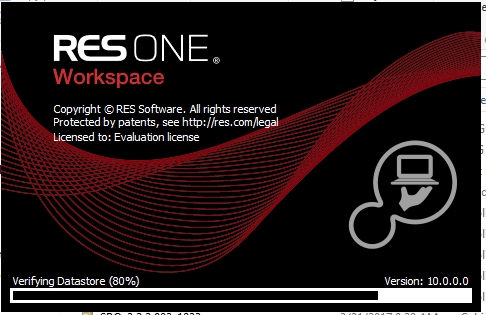
After clicking Close you will see that the console is being started with the new black and red theme. (I find it very nice)
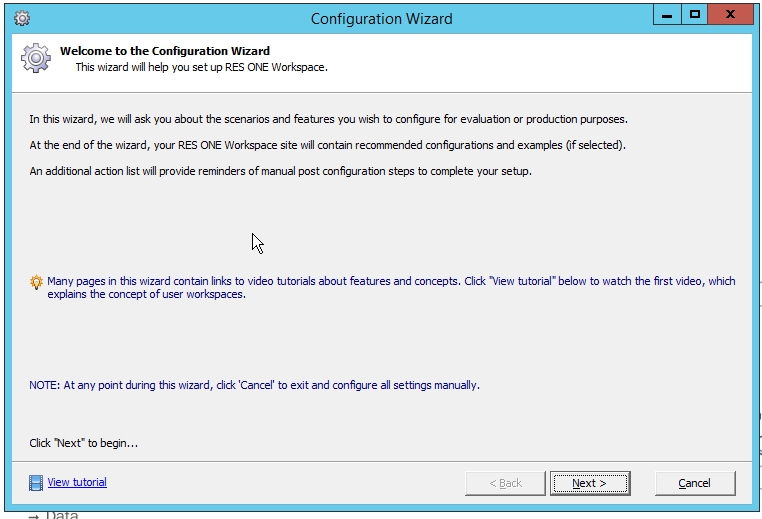
When starting the first time the console, you will be prompted with a configuration Wizard. You can choose to use it or just click Cancel and do all setting manually.
I want to have all the control so I will click Cancel.
Now you have installed ROW Enterprise.
Some extras/tips:
Best practise to setup your ROW agent:
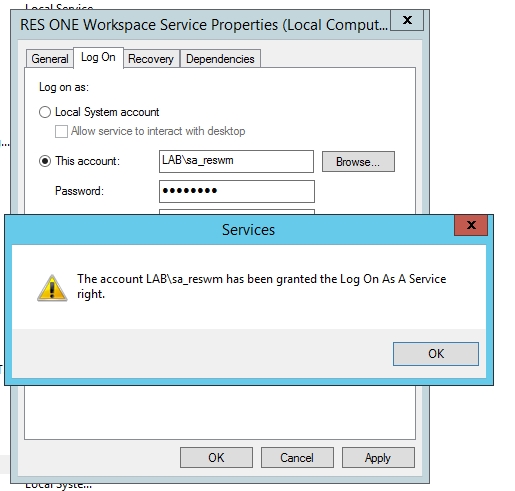
First create an Service Account for your agent service. For example sa_reswm.
You make this account member of DL_sec_RES_Admins so it becomes also an DB_owner.
After that you can edit the service:
Make sure the service account is a local administrator on the RES Workspace Manager Agent machine.
There is a way to install everything unattended using a command line:
Example: Msiexec /i “C:\RES ONE Workspace 10.0.0.0.msi” DBSERVER=SQLServer01 DBNAME=RESWorkspace DBUSER=RESWorkspaceUser DBPASSWORD=WorkspaceUserPassword DBTYPE=MSSQL DBPROTOCOLENCRYPTION=No /qn
For more information page 22 of the administration guide. There are a lot of parameters so I recommend to see whats suites you.
The ROW agent cache is stored on the local device where the agent is running on the following location:
%programfiles%\RES Software\Workspace Manager\Data\DBCache\
In that folder there are sub folders that contain also information:
IconCache – This icons and the custom icons for the programs and shortcuts
Objects – contains XML files specifying Application, and other configuration settings
Resources – contains a number of subfolders that store files like OSD, ICA, BMP etc.
Transactions – Log files waiting for transfer
Some compatible products are scheduled to be removed in the upcoming RES ONE Workspace v10.1 ( This will be May/June 2017 I think)
IBM DB2
Microsoft Windows NT Domains
Novell Directory Services
App-V 4.x
HP OpenMail
IMAP (Outloook XP only)
Internet E-mail
Lotus Notes Mail
Microsoft Mail
Microsoft Outlook Express
Nortel CallPilot
Oracle Connector for Outlook
Zarafa Groupware Server
In the next blog I will be: Step by Step installing ROW Management Portal and Desktop Sampler
Hi, nice piece. I am a ROW administrator, and I would like to trade tips and experience. I really like the advanced connection state options. Im going to be developing a Service Store implementation very soon for self-service.